
Avoid getting caught in the heat this summer by maintaining your home’s air conditioning unit. New or old, every air conditioner performs its best when properly managed. Knowing how to identify leaky ductwork, dirty coils, and many more issues that can halt the operation will help avert expensive repairs. This is not just a task for professionals. Any homeowner can save time and money by following the simple steps listed below.
Indoor Equipment Vital to Overall Well-Being
Begin with your thermostat in the off position with the temperature turned to a high setting (around 80°F), then check the following:
- Look at thermostat. Is it outdated? You could save money and energy by installing a newer, programmable thermostat.
- Check the attic for any exposed ductwork that has signs of wear, which could be a source of cooling loss or inefficiency in the home.
- Look at air vents around the home. Remove any items that could block airflow, such as drapes, furniture, or toys. Ensure that all air vents are opened.
- Check the drain line. There is a drain by the indoor cooling coil, typically mounted above the furnace. To keep the drain clear through the summer, flush one cup of chlorine bleach down your air conditioning drain and rinse it with a gallon of water. Air conditioner drain lines become clogged when there is a build up of dirt collected by the indoor coil.
- Change your air filter. The filter should be changed every month (or as recommended by the manufacturer) and definitely before the start of a new cooling or heating season.
- Check circuit breakers or disconnect to be sure electrical connections are on.
- Be sure the power is turned on at the furnace/air conditioning unit.
Next, you can check the outdoor equipment for overgrowth and wear.
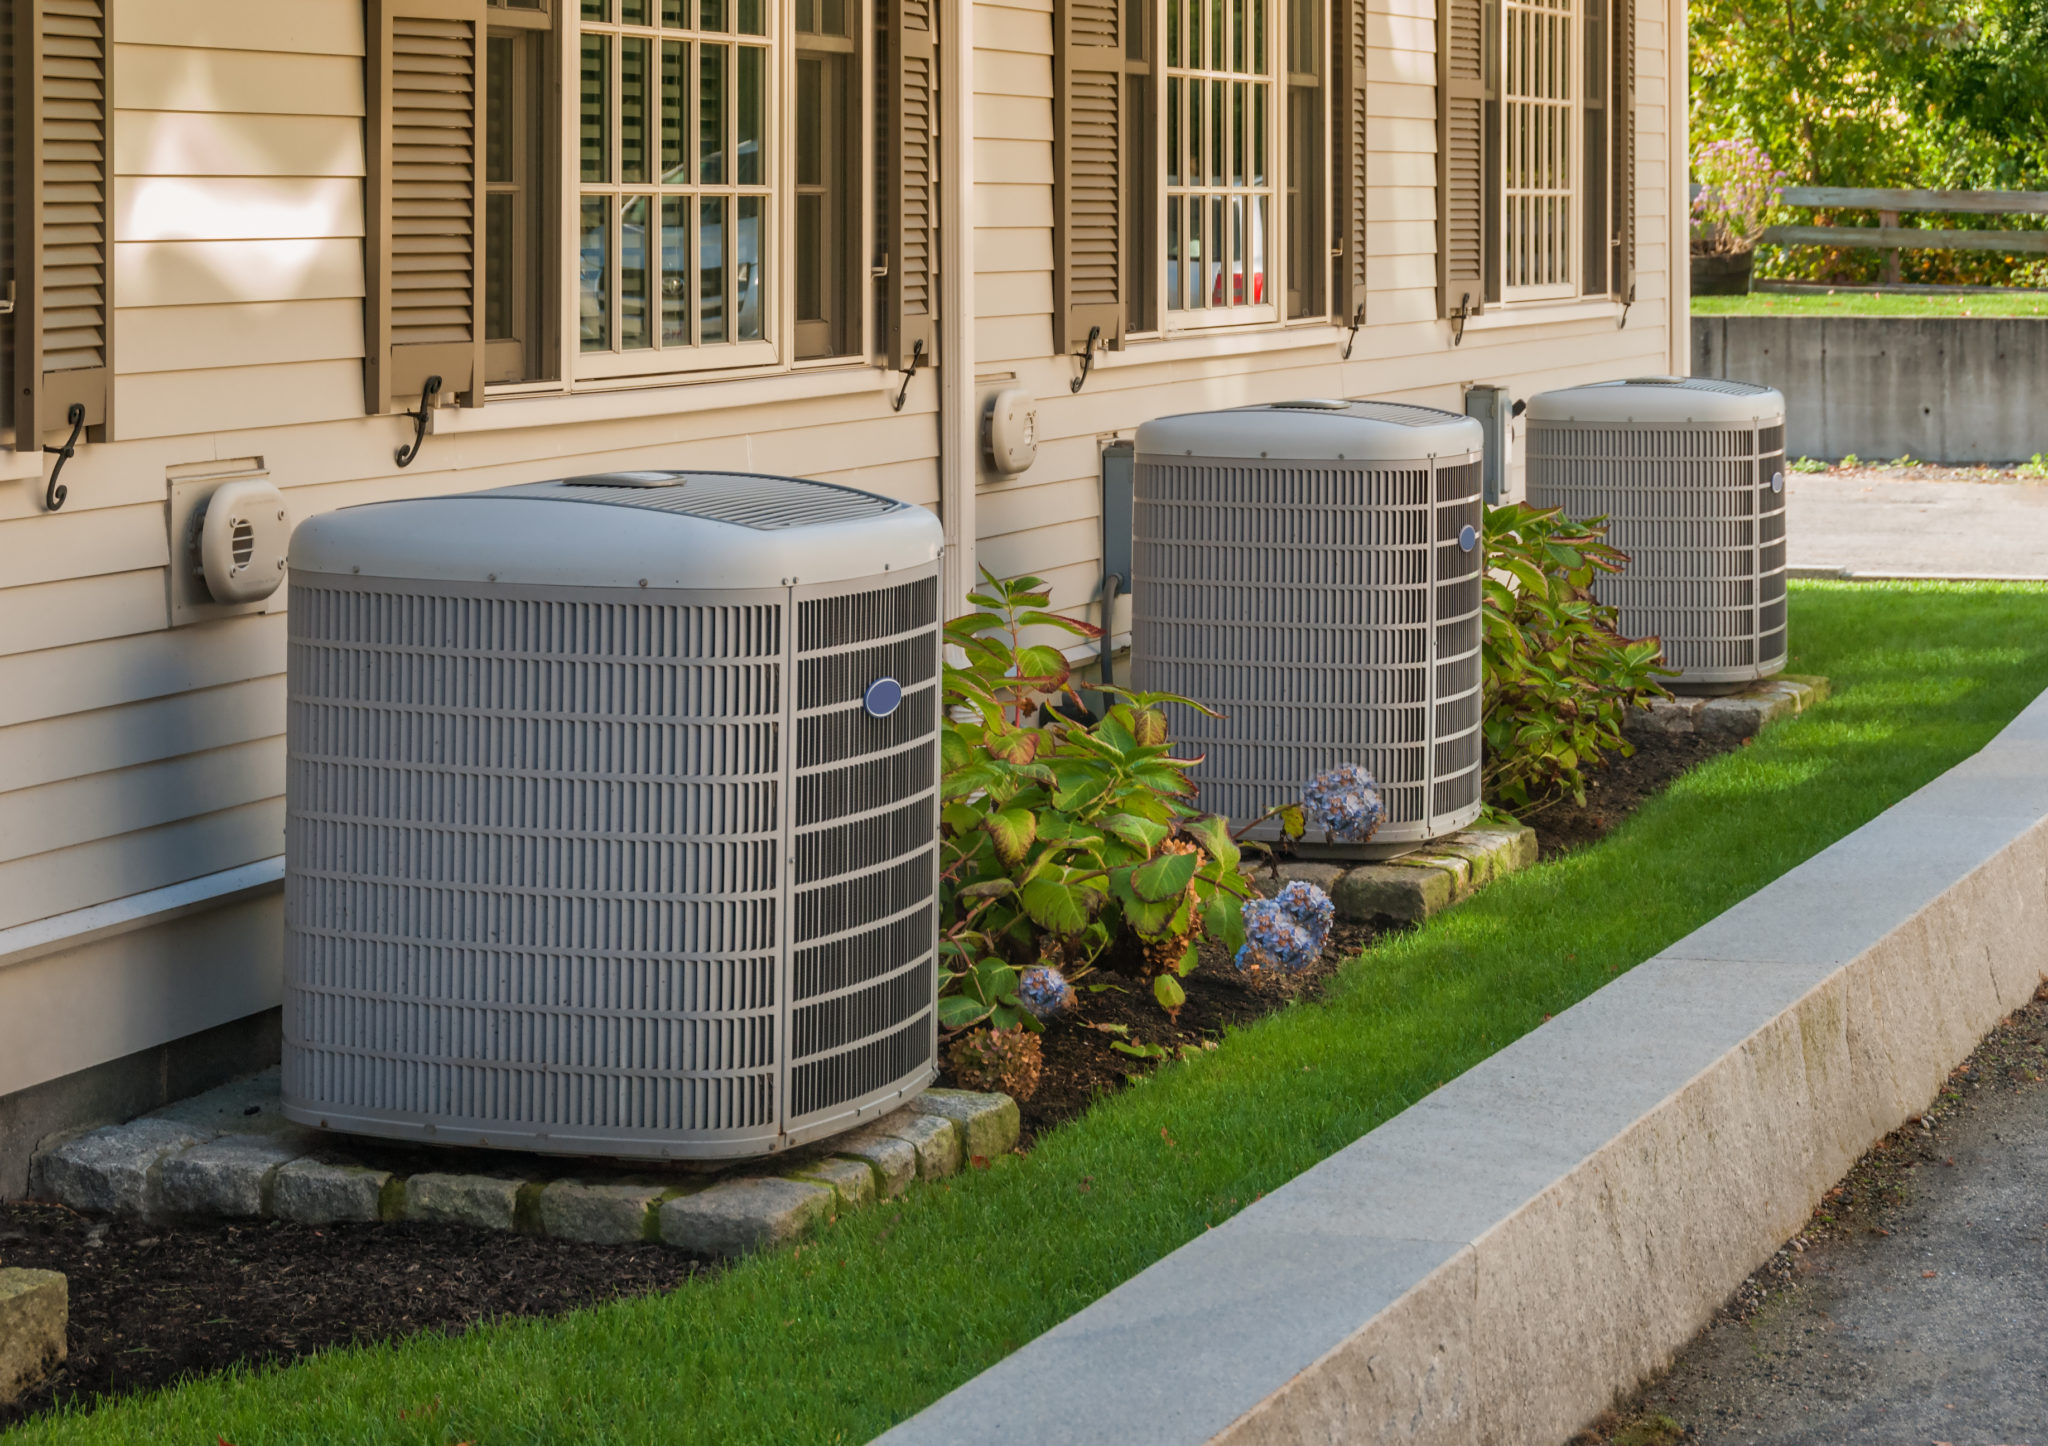
Outdoor Equipment the System Won't Run Without
- Inspect the outdoor condenser unit. Make sure there is no blockage in or near the equipment and clean the area around the unit. Leaves, vines, or debris can block the interior components and affect performance.
Also check for any missing panels, which are designed to enclose the electrical connections.
- Visually check the refrigerant lines. The lines should be properly insulated to improve the efficiency of the system. Repairs to the insulation or refrigerant lines should be done by a professional.
- Check to make sure there is no wear on the outdoor electrical wiring. If you see damage or wear, call a professional for service before using your system.
- Know when it's time your air conditioner may have reached retirement age. Air conditioners have a lifespan. Even if your unit has been properly maintained, it will eventually wear out. But the grass is greener on the other side: According to energy.gov, even if an air conditioner is only 10 years old, you can “save 20% to 40% of your cooling energy costs by replacing it with a newer, more efficient model.”
Time to Turn on Your A/C
After you have checked your indoor and outdoor equipment as described above, you can turn on the system to test it.
Step 1: Lower the temperature on your thermostat to the desired level and turn the system on at the thermostat.
Step 2: Go outside and listen to make sure that the fan in the condenser is running and that it doesn't sound irregular. The air coming out of the top of the unit should feel warm, as warm air is being removed from your home by the system.
Step 3: Let the system run for 10 - 15 minutes or more, until you can feel the indoor temperature cooling off in all parts of the home. If the cool air doesn’t flow and you have followed the guidelines above, it may be time to consult a professional.

.png?width=1278&name=HHS-company%20logo-final%20(1).png "HHS-company logo-final (1)")